How to Replace Brake Pads (DIY): Step-by-Step Guide
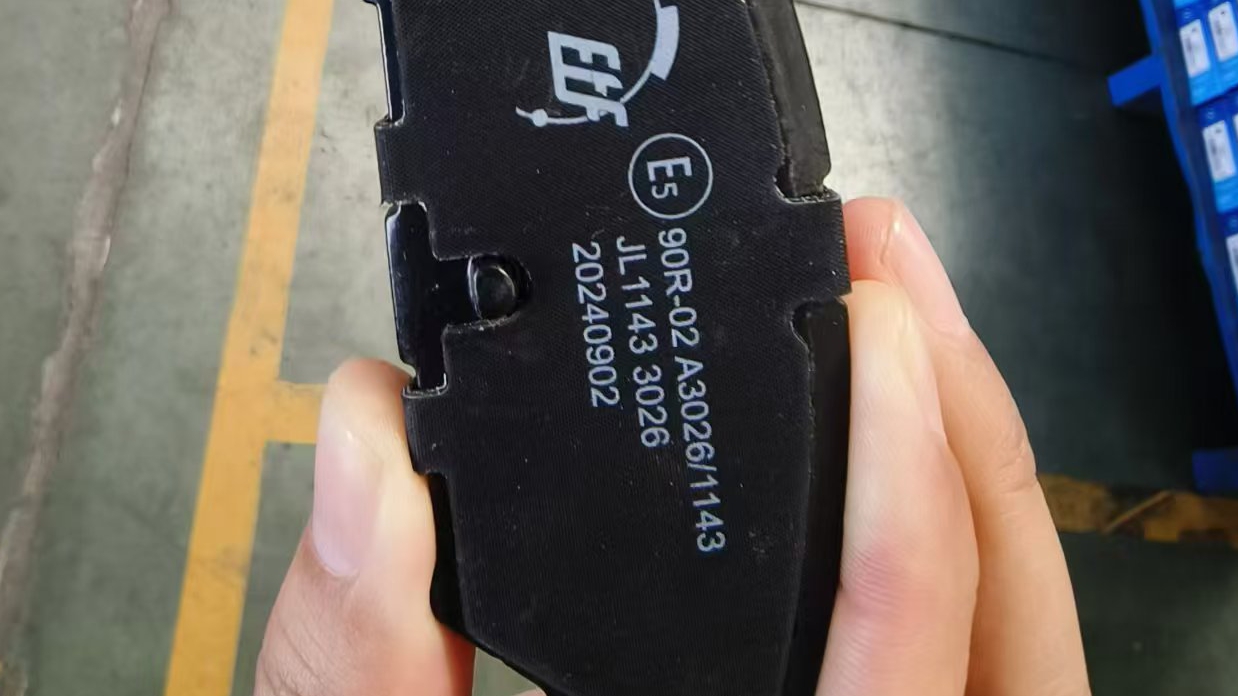
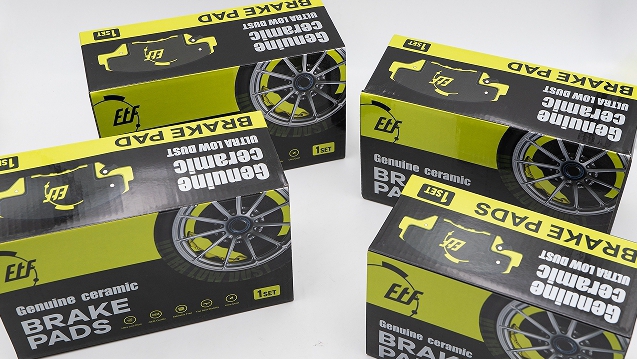
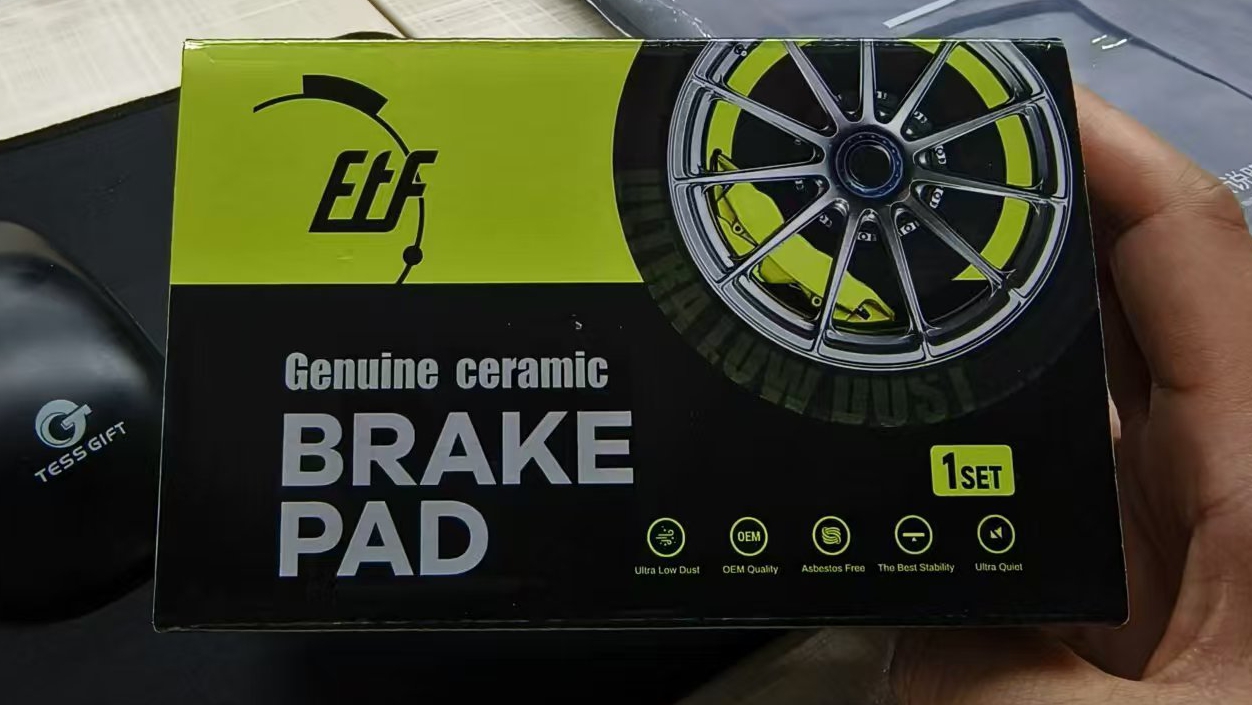
Brake pad replacement is a crucial service that every vehicle owner must undertake. Over time, brake pads wear out and need to be replaced promptly. After purchasing new brake pads, you may be faced with the decision of whether to replace them yourself or hire a mechanic. If you choose to do it yourself, this step-by-step guide will walk you through the process. I recently purchased brake pads from a reputable manufacturer, Frontech China, known for its high-quality products.
Why Replace Brake Pads?
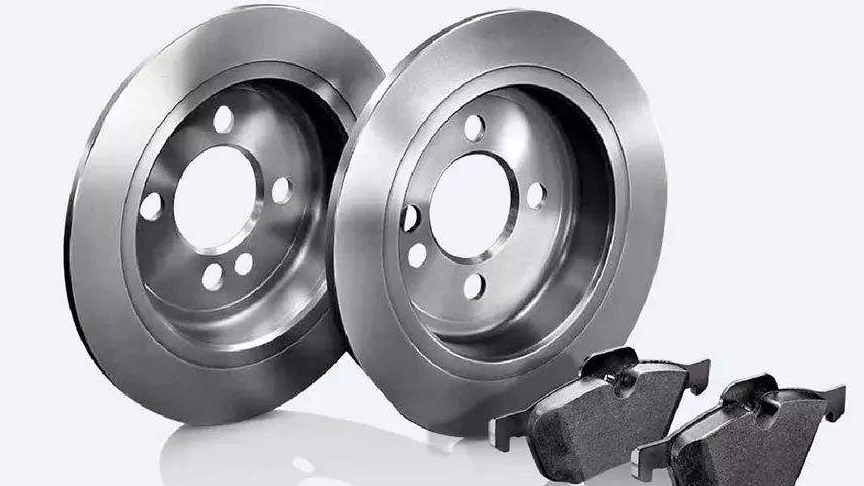
Brake pads are essential components of your vehicle that are subject to wear and tear due to the friction they endure. As they wear down, their effectiveness diminishes significantly. Worn-out brake pads can fail to function properly, making it difficult to slow down or stop your car. This poses a serious safety risk, especially in situations like driving downhill. To avoid such dangers, it is advisable to replace worn-out brake pads with quality ones from a reliable manufacturer.
Should I Replace Brake Pads on My Own?
If you enjoy working on your car and possess basic mechanical skills, DIY brake pad replacement is a viable option. However, if you prefer not to handle such tasks, it is best to consult a professional mechanic. Keep in mind that hiring a mechanic will incur additional costs.
Tools Needed for Replacing Brake Pads
To successfully replace brake pads, you will need the following tools:
Lug wrench
Hammer
Bungee cord
C-clamp
Allen wrenches
Preparations for Brake Pad Replacement
Before starting the replacement process, ensure you have all the necessary tools ready. Here are the steps to prepare:
Ensure a Safe Working Area: Clear the workspace of any potential hazards.
Jack Up the Car: Use a jack to lift the vehicle and place it securely on jack stands. This provides the necessary clearance to work on the brakes.
Break the Lugs: Loosen the lug nuts on the wheel before jacking up the car.
Gather Tools and Manual: Have all your tools within reach and refer to your vehicle's brake pad replacement manual. Different cars may have slightly different braking systems, so using the manual specific to your vehicle model is crucial.
Step-by-Step Procedure for Replacing Brake Pads
Remove the Wheel: Detach the wheel from the vehicle. Removing the wheel from the bottom up can make the process easier.
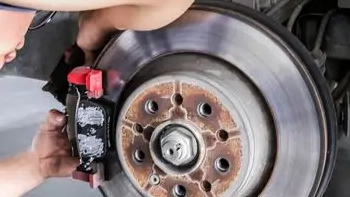
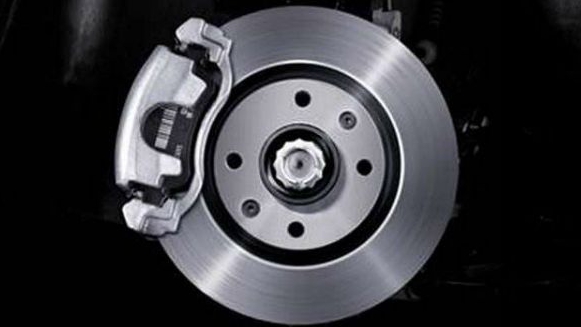
Remove the Caliper: Unbolt the caliper, which is located at the top of the brake disc (around the 12 o'clock position). This allows the brake pads to slide out from the top. In some cars, the brake pads can be removed without detaching the caliper. Use a bungee cord to safely hang the caliper aside.
Remove the Old Brake Pads: Carefully remove the worn-out brake pads. Note their arrangement to avoid confusion when installing the new ones. If the pads are stuck, gently tap them with a hammer to loosen them.
Install the New Brake Pads: Before placing the new pads, apply brake grease to their backs (avoid the front surface). Inside the caliper, you will find a piston. Use a C-clamp to push the piston back, adjusting it to fit the new pads. Then, position the new brake pads in place.
Reinstall the Caliper: Slide the caliper over the new brake pads and secure it with the bolts. After reassembly, press the brake pedal to test the new pads. You should feel increased brake pressure, indicating a successful replacement.
Conclusion
Replacing brake pads is a straightforward task that does not require extensive mechanical expertise. With the right tools and a bit of patience, you can easily replace both the brake pads and rotors yourself. However, if you are unsure at any point, it is always wise to seek the help of a professional mechanic. By following this guide, you can ensure your vehicle's braking system remains safe and reliable.